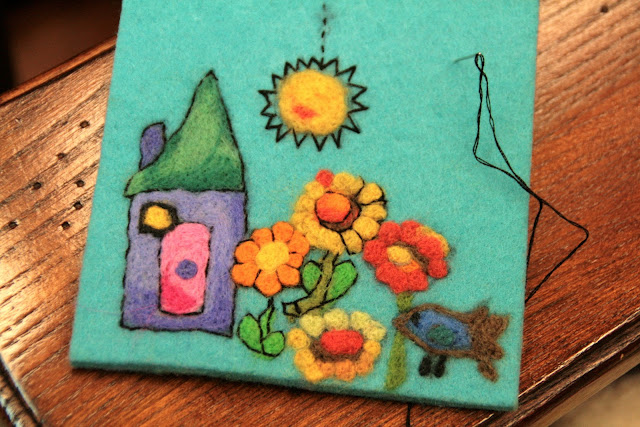
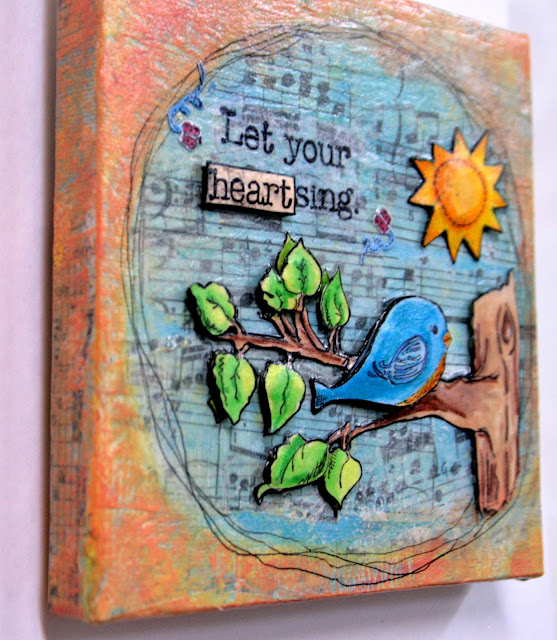
HAPPEEE MONDAY EVERYONE!! This week I have dipped my toe into the world of mixed-media and I want to share with you two canvases that I created for my Susan K. Weckesser design team post. This "Sing Your Song" stamp really spoke to me as I am on my own journey to find my ART voice and let it sing, but have you noticed that we are our own WORST critics? I find mixed media
intimidating - the few times I have tried it I have ended up with a mess of dark
and muddy colors that I just don't like. But my mantra for this year is "JUST DO IT!" and I wanted to
give mixed-media another chance with my "inner critic" turned off and I am so
glad I did because just look what happened when I followed my Inner
Artist voice...Grin. Before I get started I want to share two things about the process that have helped me: #1...
TRUST YOUR INNER VOICE and #2 If you don't like it - just add another
layer! NO really.... it totally works, especially if you let the layers dry first!

To get
started I pulled out some very inexpensive dollar store canvases and
literally just THREW paint on them - that really helped to break through my block
and away I went.
For my first canvas I used a baby blue acrylic paint for the background and then mod podged strips of Tim Holtz tissue wrap right over top. The tissue wrap goes almost transparent so the color still shows through, but unlike tissue paper it can stand up to paint and mod podge without falling apart.
After the mod podge had dried I arranged the pieces of my image on the canvas. I always stamp and color my image multiple times so I can layer and pop and dimensionalize to my hearts content and I love to fussy cut so I cut out a lot of pieces. I used foam pop dots under some pieces but glued others right to the canvas to give the entire piece some dimension.
At this point I found the blue background a little overpowering so I applied some orange paint around the edges with my finger. Since I was applying the paint over a dried mod podged surface it was easy to rub off the paint, even if it had already dried, until I had just the right amount of background peaking through.
The perfectly stamped sentiment was easy to apply because I stamped it
first on a piece of white tissue paper and then cut it out and mod podged it to the canvas... NOTE: Use a waterproof ink like Archival for your stamping or the ink will run when you apply the mod podge. After I had everything arranged and glued down I applied one more layer of mod podge to the entire canvas and let it dry completely. Finally, I like to add some doodling using either a sharpie or one of my copic liners since they both have a waterproof ink and can write on any surface, for me that really finishes off the piece.
Now for this second canvas I used all the same steps and most of the same products with is a few differences. First I applied blue acrylic paint to my canvas using some bubble wrap and after it had dried I sprayed the entire piece with yellow and orange Dylusion sprays to quickly create this vibrant background.
I again used mod podge to add strips of tissue wrap, and this time I colored and cut out my stamped image three
times because I wanted to create a much larger tree trunk. I used glue,
pop dots and mod podge to reassemble my stamped image on the canvas.
I again stamped my sentiment on tissue paper and mod podged it to the
canvas, but because my background was so bright and busy I created a
"bubble" - applying white acrylic paint with my finger - so the stamped sentiment would
stand out more clearly when I mod podged it onto the canvas.
Again some doodled lines along with some sparkle using my stickles added those last finishing touches and I would absolutely hang this on my wall! So this week I challenge you to go and play with your favorite stamp with the "inner critic" turned off and see what happens!
Thanks for stopping by and have a wonderful week and I would Love to hear from you if you want to leave me a comment...
Scrapbook Lynne (grin)


