Please Respect My Work...

All of the cards, layouts, handmade items and art work displayed on this website are copyright to me, Lynne Mizera. Of course I hope to inspire and encourage you and would be morethan happy for you to use any of my work to that end; however, please respect me and my work and do not directly copy any of my projects without crediting me or enter any of my work into any magazines or competitions without my express written permission. All my cards, layouts, projects and art work are not to be used by any commercial enterprise for any financial, marketing or commercial gain.

Showing posts with label Art Journey. Show all posts

Friday, February 23, 2018

Bloom & Grow Your Artist's Soul - A Mixed Media Tutorial

Hello and Happy Day everyone!  It's me, Lynne here today to share my monthly tutorial post for STAMPlorations with all of you, (which is, as you know,  my very favorite thing to do!)  And hang onto your seats peeps because this month I am taking you a tiny bit deeper into the art side of the mixed media world as you Paint Your Own Flowers! 
As always I am going to walk you through each step of my process, with lots of photos along the way, which if you follow along with me, one tiny little step at a time, you too will create a piece of your own art that you can be proud of - so here goes...

Step #1 - Creating Your Background: Fill your page with lots of color.  The more vibrant and colorful your background, the more the white flowers will pop off the page.
As you can see in this photo I am using my Dylusion paints and a foam applicator and applying the colors how ever I want, without thinking too much about it.  Just get the page covered...
 
Now for the fun part, using a stencil, it can be any stencil with a pattern you like, I am going to "cut through" the background colors applying white paint where the colors are dark, and a contrasting darker paint where the colors are light.  You will want to make sure that this first layer of paint is dry before you add your stencil pattern.
I began with my stencil in a vertical pattern and then switched it to a horizontal pattern.  There is no wrong way to do this, just keep layering until your page is filled up with color and patterns. 
Step 1 is now done ... let this dry.

STEP #2 - Draw in your flowers:  I am using a Stabilo All pencil but use what you have on  hand.  It can be a charcol pencil or a black pencil crayon or a soft lead pencil like an HB.
You want to use something dark enough so that you can see it over top your background and don't worry about being too dark because you will be painting over top if these lines. 
 
I drew daisies because they are easy for me, but you can draw any flower you like, just keep the shape simple and very open... like the flowers you would draw when you were a child
 
Now the reason I am using the Stabilo All pencil is that the black lines turn to paint when they get wet, so when I add my white paint it immediately turns grey, and gives me shading without having to do too much.  This will happen if you use a charcole pencil or a soft-leaded pencil, but not if you use a pencil crayon.
I put a good amount of paint on my brush and either outline the petal or make one broad brush stroke to create a streak of paint going in the right direction. Clean your brush often so the paint does not become too black, and don't worry too much about what your flowers look like at this stage because you are going to paint over them a few more times.  You can see in this photo that my flowers look very child like, which is what I want. 

I let the first layer dry (you can use a heat gun to speed up the process) and then went over my petals several more times with my white paint until the  flowers really stood out against the background.  You will notice that the petal shapes are very child-like and imperfect, this is the look I am going for and I will clean up everything in the last step, so be gentle with yourself and let your inner child just paint some flowers. 
 

Next I added paint to the stems, and filled in the flower centres with a dark brown.  I used the same dark brown to add a bit of shading to the edges of my stems, but again I did not worry too much about the placement, I just wanted some color and some contrast.
 
And now I will create some shadows on the petals using a color that is darker than the white but still fairly light - I chose a warm yellow - and added strokes of color between the petals and I also dabbed the top of the flower centres with some yellow to show the direction the sun is shining.

Step#4 - Cleaning It All Up:  This is the step where everything changes from a very child-like look to a more purposefully whimsical look - or what I like to call Perfectly Imperfect - by outlining your images.
 
I like to use a fine-tipped paint brush and a very thin black paint, but you can use a paint pen or a waterproof marker any other tool that let's you easily outline the images.  
Again, there is no need to be perfect and and it is easier if you do not think too much.  You will see that I did not follow my brush strokes, but rather drew in the petal shapes I wanted, and I even let paint show outside the lines!  I also added a few lines on the petals... if you think about what the images look like in a coloring book you will be on the right track.

Step#5 - Add Your Sentiment:  When I am creating a page in my art journal I like to add words that mean something to me.  Even if I am doing this on a canvas, I like to add words, because that is what I do.   You do not have to do this.
 
When you are adding journalling to a page that is this vibrant and busy you will need to create a place to write so the words will show up.  I like to use a watered-down white gesso for two reasons; 1. because pens seem to write better on the matte surface and 2. because I  want some of my background to show through and to keep the flowers as the focal point.  Otherwise the white and black journalling will overpower the page.
 
But this is not the case when you just fade back your background, as you can see in the finished spread.  You can practice this technique on paper, in your art journal or on a canvas  using whatever product you have on  hand - craft paint and pencil crayons will work just as well as acrylic paints and charcoal pencils.  The main thing is to allow yourself to paint some child-like flowers and then make them a little bit more grown  up!

So I do hope you enjoyed my tutorial this month and that I maybe inspired you to try a new technique and to play with your stencils in a different way.  And As always, Thank You for popping in today to see what I am up to ... and Please DO leave me a comment if you like what you see!!

Lynne  Mizera
For the STAMPlorations Mixed Media Design Team


STAMPLORATIONS PRODUCTS USED:


Other Products Used:
Ranger Dylusion paints (background)
Stabilo All Pencil - black
DecoArt Americana Chalky Finish (for the flowers)
Whisper (off white)
Delicate (yellow)
New Life (green) 
Liquitex White Gesso


ARTploration Stencil: Evolution


Tuesday, September 12, 2017

Lifebook Changed My Life, (And So Did "Meeting" Effy Wild!)

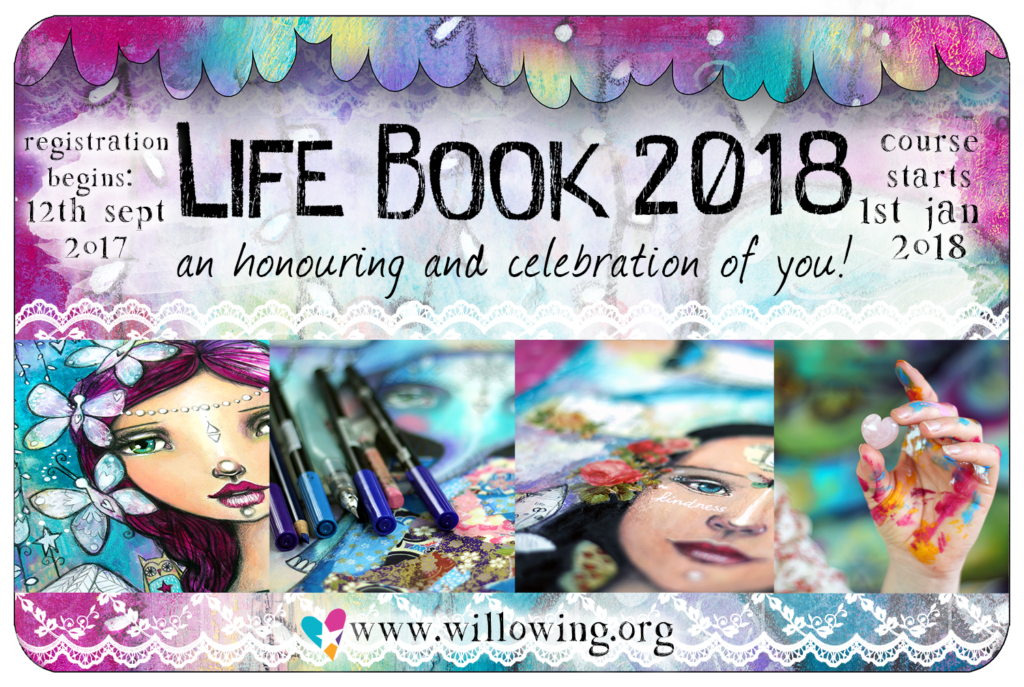
In Effy's post today, as this month I Blog Along With Effy Wild,  she "Nudged" us to write about someone that had a positive influence on us and to share this person with others.  Also today the registration opened up for Lifebook 2018.  Coincidence? I think not!
It only took a brief moment of self reflection to determine that the biggest positive influence in both my personal and Art life has been discovering and working through my Lifebook lessons. 
Lifebook 2013
 I stumbled across Lifebook in 2013 through a link on Christy Tomlinson's site as I was looking for her "She Girl" on-class, a brand new concept to me at the time.  To be honest the reason I signed up for Lifebook was because the frugal, French-Canadian farmer genes kicked in: "Why pay $50 for one class from one instructor when for $100 you can get 52 lessons from 26 instructors?" It's was a no brainer and I immediately signed up, bought the course and watched my first on-line art instruction video with Tamara Laporte.
Lifebook 2016
That was a  life-changing moment for me!  I could write a book about all the ways this amazing experience changed how I see and feel about myself and my art, but Hey... Tamara already did that this year and it's due to be released in 2018.
Lifebook 2015
I now have Lifebook lessons from 2013 to 2017 downloaded onto my computer and I am off to add 2018 today.  And even though I have yet to finish all 52 lessons in any given year I will continue to sign up. 
Lifebook 2017
Why?  Because I am working through the lesson's on my own personal schedule, in no particular order, one lesson at a time.  This works for me, and each Lifebook year and each Lifebook lesson is always different from the previous and I learn something from every single one. 
Lifebook 2017
I have learned so much on my Lifebook journey these past five years, growing both as a person and an artist, but if I had to pick just one thing out of the many, many gifts and lessons I have received it would be this:  
Lifebook 2015
By making the commitment to complete the Lifebook lessons I made myself a priority, and as big a priority as taking care of my family and my home.  Art became my work and making Art was given value.  I was no longer "playing in my craft room"  but "Working in My Studio".  And this was HUGE for me, because as a woman and a caregiver everyone else's needs always seemed to be more important than my own, and my needs never seemed important enough to make it to the top of list.

Lifebook 2016
So go check out Tamara Laporte and  Lifebook 2018 today ... it may be the best gift you ever buy for YOURSELF!

Various Lifebook lessons completed early 2016
I am Blogging Along With Effy for the month of September, come join us.

Lynne Mizera - Student, Artist, Woman of the World


Saturday, September 9, 2017

A Post About Finding My Art Voice...

Today's Blog Nudge from Ms. Effy Wild is to share something you’ve created that feels like it’s a part of your autobiography.  Effy's blog post today is about "No Mud, No Lotus" and this reminded me of one  of my very favorite quotes from Maya Angelou:

“We delight in the beauty of the butterfly, but rarely admit the changes it has gone through to achieve that beauty.”

One of my first Art journal pages

For me Maya's quote was the first step in my realizing that the ugliness of my past didn't make ME ugly, but rather the struggle to overcome all that ugliness actually ended up making me Beautiful! 

An Early Attempt at Mixed Media

The next step was allowing myself to "make art" and realizing that it was okay to let my beauty shine through my art.  Sound obvious and easy doesn't it... but that is not the case!  I felt like I was that butterfly FIGHTING to shed it's cocoon all over again.

My Fairy Art Mother, Lifebook 2013, Lesson  #1
It wasn't until 2013 when I was working on my first Lifebook lesson creating "My Fairy Art Mother" when I made that breakthrough.  After that whenever I looked at her I would remember... 

 "You Are A Beautiful Soul and it's OKAY to let your beauty shine through your art."

My Lifebook 2015 - Lesson #1
And I still have to remind myself of this even today, but it is getting easier and easier to Just Do IT...
My Lifebook 2016- Lesson #23 with Amy Grant
and to stop agonizing over every decision I make.  Playing in my Art Journal really helps with that and with my confidence as an artist because that is where I allow myself to Just Be Me and I am liking more and more what I am seeing as I try and find my own Artistic Voice...
Grafitti Roses - An Original Canvas by ME - Lynne Mizera
I am still learning  my craft and trying to find my style and my Art Voice... but following wonderful artists's like Ms. Effy Wild and Ms. Tamara Laporte really helps me... 
An Original Canvas By Lynne Mizera - Artist
Thank you Yet Again Ms. Effy Wild for another wonderful "blog nudge" and for sharing your own experiences so eloquently that it makes it easier for the rest of us to share too!

With Love From My Heart To Yours,
Lynne Mizera 

I am blogging along with Effy Wild this month...
Go Here To Find Out How You Can Join IN!


Saturday, June 17, 2017

Turning 55 Has Been A Turning Point!

Oh My Goodness, so much to share with all of you today and I will try to keep it down to a short story-sized post!  Firstly on  May 27th I turned 55 and this EXCITES me beyond belief because I believe that double-digit birthday years are powerful and life changing, especially if you pay attention and leap onto the opportunities that present themselves through the year.  Let me explain: 

At the end of my 22nd year I began planning a trip to China for three weeks; I was a single mom with two children working as a waitress (so you would think not very possible) but as I worked toward that goal everything just fell into place allowing me to take this life-changing journey.  (And it really did change my life but all that in another post!)

The year I turned 33 I met "Mr. Awesome" (my husband now) and even though I had sworn off men for the rest of my life I took one more chance with my heart and am I ever glad I did because our life together has just gotten better and better ever since.

The year I turned 44 I took a new job with a start-up oil and gas company, a decision that allowed me to retire forever from office work five years later at the age of 49!
And three weeks ago I turned 55! So now can you understand my excitement?  And guess what? The awesomeness is starting already! 
This is me on the night of 55th birthday...
Here are just a few of the things that have happened in the past few weeks: 
Just before my birthday I was selected as the only Canadian on the Mixed UP Magazine design team.  Something I have wanted to do for a long time is to be able to share my work through tutorials and articles and now I AM! 

Three days after my birthday I received my first commission cheque from the Fly In The Fibre, a local store that is now carrying a bit of my work (only 100 pieces! grin).  So I actually got a "pay cheque" for being an artist... Swoon!
SOLD - on the very first day!
A few days later I arranged to teach two mixed media canvas classes in the area, putting myself out there as a mixed media artist and instructor for the very first time.
Not only did both classes sell out, but the first class was a wonderful experience with seven happy students each leaving with a beautiful finished piece that was entirely their own.
Then last week I met another amazing mixed media and fabric artist who lives just up the road from me.  She runs a business called The Art Barn Studio and we have already played together with making our own paper out of blue jeans, and she is teaching me how to make  Junk Journal.  This past Monday we played with Pebeo paints creating these "pours", (happy dance).  It turns out she is another Soul Sister and I can't wait to hang with her more! 
 
And finally this mornning I discovered that I was featured in Nathalie Kalbach's June newsletter with the Elephant tin project I created using her stamps for my Mixed Up Mag blog tutorial last month!(Go HERE to see the tutorial).  And it's only been three weeks since I turned 55!
You know, 10 years ago I started saying "jokingly" that when I retired I would spend Monday, Tuesday, Wednesday working in my glass studio and Thursday, Friday, Saturday working in my paper & paint studio and Mr. Awesome would get Sundays (although I could see him losing Sundays pretty quickly, grin).  But you know, here I am 10 years later doing EXACTLY that! Working full time, every day in my studios (yes, I have TWO) with never enough time left over for my glass, and loving every minute of my life. 
Me and Leah Wilson, who taught me how to make "Oliver" my felted owl.

It really is true that if you love what you do, not only will you "never work a day in your life" but also you will wake up every day full of energy and ready to leap out of bed to get going!
And this is Oliver... the big one on the right.
I just want to say a heart felt Thank You to all my wonderful and faithful blog followers, some of whom have been here since the beginning seven years ago. And to let you know to stay tuned because I think you are going to like some of the changes I am hoping to make to my blog over the next few months!
Some of my new pieces...
As always, Thank You for popping in today to see what I am up to and please do leave me a comment if you like what you are seeing!

Lynne Mizera, Mixed Media Artist
Creston, British Columbia, Canada