Please Respect My Work...

All of the cards, layouts, handmade items and art work displayed on this website are copyright to me, Lynne Mizera. Of course I hope to inspire and encourage you and would be morethan happy for you to use any of my work to that end; however, please respect me and my work and do not directly copy any of my projects without crediting me or enter any of my work into any magazines or competitions without my express written permission. All my cards, layouts, projects and art work are not to be used by any commercial enterprise for any financial, marketing or commercial gain.

Showing posts with label Canvas. Show all posts

Sunday, May 20, 2018

STAMPLORATIONS Stencil Sunday - Be Fearless, A Mixed Media Canvas

 
Hello Everyone, today I am sharing a mixed media canvas I created for the last Stencil Sunday I will be participating in as a Stamplorations' Mixed Media Design Team member... The inspiraiton for this piece is Graduation, and I do hope you enjoy it as much as I enjoyed making it...
And don't forget the Things With Wings Event going right now ... there are lots of new products (with discounts) and lots of prizes for the fun events going on all month long so make sure you pop on over to have a look.

Create a winged-themed mixed media (non-card) project 
and use a stencil

Happy Sunday!
Lynne Mizera
for the STAMPlorations Design Team
 

STAMPlorations products used on this project:

BE YOU Word Die


Sunday, May 6, 2018

"BIRDS ON A WIRE" ... A New Mixed Media Canvas

Hello Everyone and Happy May! 
Today being the first of Sunday of the month means it is the beginning of a brand new Mixed Media Challenge over at Stamplorations.  But as May also happens to be the annual "Things With Wings" challenge it means you have even MORE chances to share you projects and win things!
The May challenge is particularly difficult for me because it is always so hard for me to choose just one product as STAMPlorations have so many awesome "things with wings" products, but this year I am showcasing an image from the "For The Birds" die set and the new Sanna Lippert stencil Senecia1.  

When I first saw this stencil design that Sanna created I knew immediately that I wanted to pair these two products and I just love the results.
The Senecia1 stencil comes with both the stencil and the masks pieces (the inside portion of the stencil) and I used these mask  pieces  to create this wonderful mixed media background.  (Go to my tutorial HERE to see how to create this type of mixed media background using a mask.)
 
And By using the same technique but different background colors and changing the orientation of the layout I created  two canvases that have very different looks and feelings.  
Here are a few close ups of the wonderful colors and textures of the background, which the photos never really do justice to just how beautiful these are.


So I hope this inspires you and check out the amazing array of prizes that STAMPlorations is giving away this month... you really will want to play along!


Lynne Mizera,
for the STAMPlorations Mixed Media Design Team
 
 
 Stamplorations Products Used:
ARTplorations- Senecia1 Stencil
CUTplorations - For The Birds die


Lynne Miz

Sunday, February 18, 2018

Live, Love, Make ART - A Mixed Media Canvas Using SILKS Acrylic Glazes

Happy Stencil Sunday Everyone!  I am here today as a member of the STAMPlorations mixed media design team to share this little canvas I created using a stencil and my SILKS acrylic glazes and I just love how it turned out.
 
I did something a little bit different with my stencil for this project... I had textured using Kroma Crackle gel, (you can use any kind of crackle medium for this step).


Once it had dried I taped the stencil to the canvas and using a stiff brush I dabbed the glazes through the stencil right onto the canvas.  Remember when we used to stencil our walls?  Kinda of like that.
 
I masked off each flower before painting the next one.  (just like we do in stamping), and then painted all around the flowers using green and gold Silks, I  just LOVE how it turned out.
 
Next I used a really dark purple india ink and a fine brush to fill in the outlines.
I used ink and a brush because the ink flowed into the crackles and looked great. But although it did the job, I was not loving how strong these lines were sooooo,
I re-outlined the flowers again using my Pebeo Cerne Relief in copper, but still allowing some of the purple ink to show.  This tones down that strong purple and now I LOVE it again.
I added the sentiment using my stamping on tissue paper technique and the STAMPlorations "Make Art" stamp from the Say It Big series, a series of larger sentiments which I am LOVING for my mixed media canvases these days.
And what a nice little canvas this has become.  I love the shimmery, almost metallic effect of the Silk glazes and the rough crackle texture created by the Kroma gel.
 
Well that's it for this month's Stencil Sunday, thank you for joining me and do pop on over to the STAMPlorations Blog to see what my team mates have created for you this month.
And, as always thank you for popping in to see what I am up to these days and please do leave me a comment if you like what you see.  I read every single one... Smile.

Lynne Mizera
for the STAMPlorations Mixed Media Design Team


STAMPlorations Products Used:
Stencil - Peony No. 2
preview-makeart
STAMP: Make Art

Other Products Used:
Colour Arte Silks Acrylic Glazes
Kroma Crackle Gel
Windsor and Newton India Ink
Pebeo Cerne Relief
Ranger Archival Ink


Monday, January 22, 2018

Using Glass Paints On Canvas - Who Knew?! - A Tutorial By Lynne Mizera


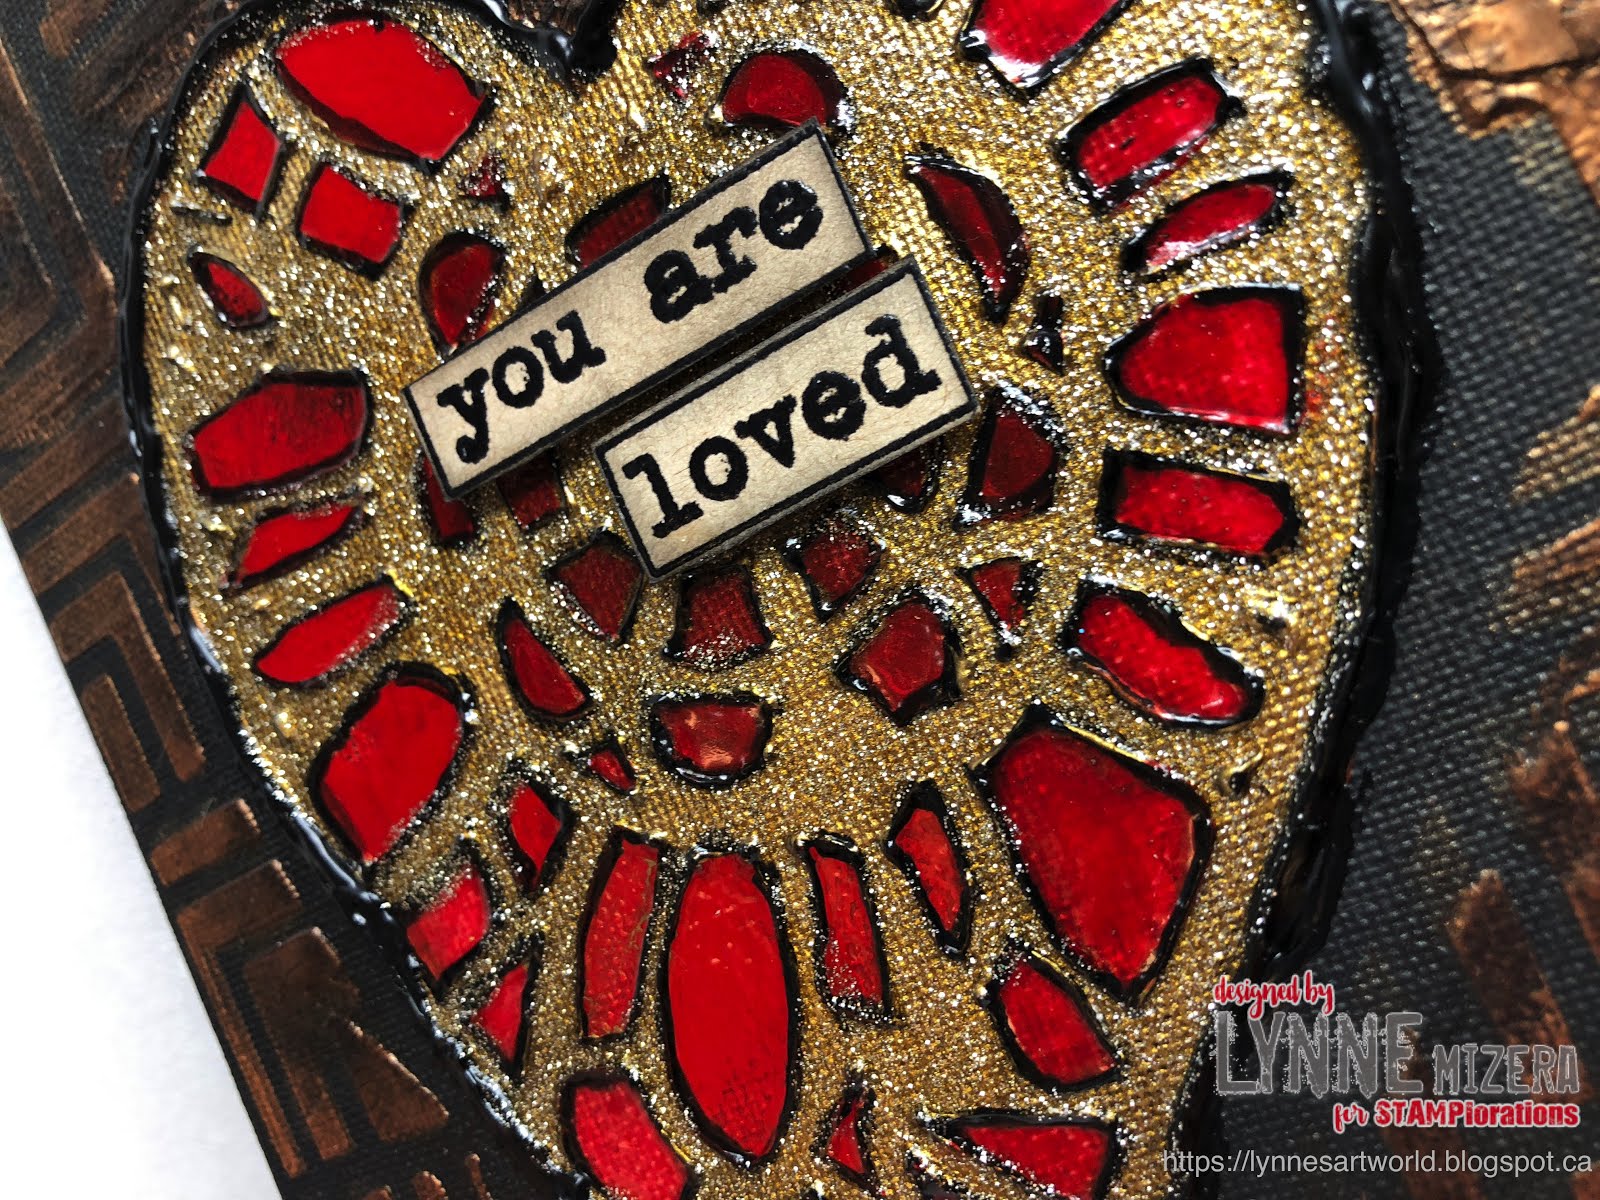
Hello and Happy Day everyone!  I am here today to share my monthly mixed media tutorial with all of you, one of my very favorite duties every month, and today I am sharing how I used my Pebeo glass paints with a stencil on a 5x7 board canvas to create this wonderful little piece that I can now pop into a frame (or not) and gift to someone special.
 
The steps are pretty simple, but the process takes a while as you need to allow the glass paints to dry and they do NOT like it if you try to quicken the process with a heat gun! (WARNING... heat and glass paints create fumes!!)  But if you give yourself the time to allow these paints to dry the results are spectacular.  So scroll down through all my photos to see how I created this wonderful piece...
 Begin by taping the stencil to the canvas and tracing the  shapes in pencil
Next, using Pebeo Cerne Relief, outline the shapes making sure there are no gaps in the lines, because you are creating cells to fill with product and you do not want any to leak out.


The Cerne Relief dries surprisingly quickly and in about 20 minutes you are ready to start filling those cells with color.  I am using a variety of Pebeo glass paints, The Vitrail is translucent and gives a stained glass effect, the Ceramic is opaque and looks like baked enamel and he Prisme and Moon paints dry to form a beautiful pounded metal effect... swoon...
 
As you can see I use a pretty simple method of dipping a wooden skewer into the paint and letting it run off the skewer into the cell... that's it, just be patient as the liquid is fairly thick and needs some time to move... it reminds me of when I was a kid and used to watch the molasses drip off the spoon... it's very therapeutic.

If I drip Prisme or Moon paint into a cell already filled with some Vitrail paint (the clear one), the Prisme or Moon paints rise to the surface and create these lovely, pounded metal effects...
 
This part of the process is one that cannot be rushed, and I just allowed myself to become lost in the process of creating until all the cells were filled... and now (I cannot stress this enough) LET IT DRY!  Overnight is probably the best and even then, if you are in a humid climate, it may still be tacky.  
Once the glass paints had dried I painted all around the heart shape with a matte black gesso.  Of course you can use black paint, but acrylic paints are glossy and I loved the effect of a matte (not shiny) background against the shiny, baked enamel-looking heart.
Next I painted in the heart shape using my Golden fluid acrylic gold paint, because I think Gold makes everything better,  don't you?
It was at this point that I decided the background was too plain so using some Dreamweaver bronze metallic embossing paste and the Square City stencil I broke up the black background, and I did not worry too much about being perfect because I wanted a slightly messy, grungy look.
At this point was also when I decided that all the patterns in the cells was just too busy for me, so I filled them all in using the Pebeo Porcelaine paint pen in red and I liked the effect much more.
I added the sentiment using the "It's All About You" stamp set, which I stamped and heat embossed with a clear embossing powder so the glossy letters would go with the glossy  heart.  And finally I filled all the gold background with a layer of glitter so that heart sparkles from across the room!
 
It was really hard to get a good photo of all the shimmer and glitter and shiny bits of this canvas, but these two are not bad...


And finally for those of you that need to know, here are all the products I used on this project.
 
 
As always, thank you for popping by to see what I created to share with you this month, and if you are inspired by my tutorial to use your stencils, please do link up to the January Mixed Media Challenge where it is always anything goes except a card as long as you use a stencil, Any stencil.


Lynne Mizera
for the STAMPlorations Mixed Media Design Team
 

STAMPlorations Products Used:
(Use this coupon for 20% off and don't forget you receive this discount even if the item is on sale and there is a BIG Sale going on right now!) 


IT'S ALL ABOUT YOU
DOODLED HEART
SQUARE CITY