

Impressionism: a movement in the late 19th century in French painting, characterized by the goal of reproducing an impression of a subject by use of reflected light and color and the blurring of outlines. —

 |
| For my background I used my Dylusion Inks sprayed onto a piece of 140lbs watercolor paper, and then after it had dried I used my brayer to roll a very small bit of white gesso overtop - this faded my background colors back and added some texture. Then I cut my paper into the standard business card sized bits of 2.5"x3.5". |
 |
| Now, using my masks, white gesso and a makeup sponge, I dabbed the gesso overtop the mask to create a base image.... like these below: |
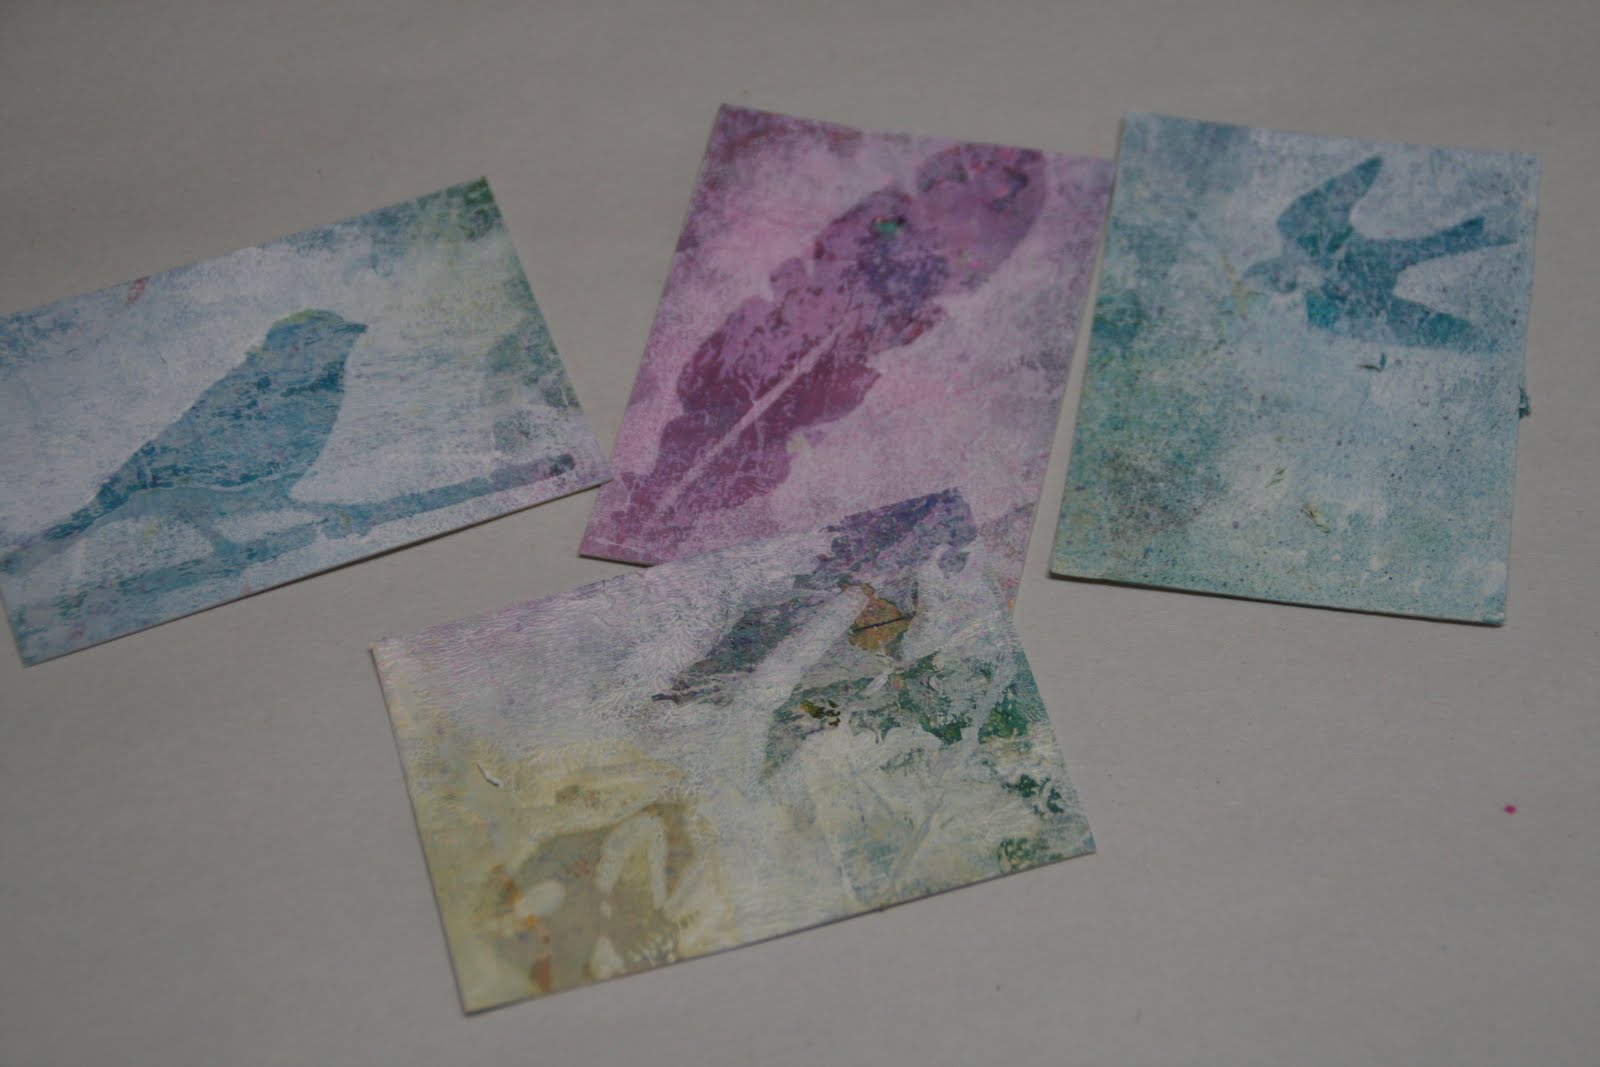
 |
| I only dab on enough white gesso to cover the mask so that the background color peeks through. |
 |
| Then, after that has dried, using my stencils and Studio 490 Crackle Texture Paste I added some 3-D images overtop of the background images, so now my cards looked like this: |
 |
| Now at this point you can leave the cards as they are; all subtle and crackled and faded back, OR you can pump up one of your images using pencil crayons (yup, plain old colored pencils) |
 |
| Choose a main image and add a faint outline in either the same color a few shades darker or a complimentary color. See the difference? |

 |
| And finally... add a stamped saying using the tissue paper method and any other ephemera to embellish and enhance. The above image is the ATC before I added my stamped saying: |
 |
| And here is the completed card... |
 |
| Before |
 |
| And completed - You may notice that I have inked the edges of my ATC, I think this gives it a finished look. |
 |
| Before: |
 |
| Completed - you may also notice that I like to enhance my crackles by dabbing some spray ink onto the image and wiping off so the ink goes into the cracks. |
 |
| Here is the Before: |
 |
| Here is the After |
So as always, thank you for popping in today to see what I am up to and to share in my creativity and please do leave me a comment if you like what you are seeing!
Lynne Mizera

STAMPlorations products used on this project:

STAMPlorations Stamp Bold Sentiments: Create
 |
| ARTplorations Stencil & Mask: Some Birds |
Wow, what a fabulous selection of gorgeous ATCs! Jo x
ReplyDeleteThank you Dotty Jo...did I inspire you to make some? Smile
DeleteLove this effect!!
ReplyDeleteThank you Roz... If you try this I would love to see them!
Deletevery pretty! I love the crackle on it and the finished ATC's.
ReplyDeleteThank you Belinda... For the visit and the comment
DeleteBeautiful ATC's and a great tutorial :)
ReplyDeleteThank you Shel...the fact that you liked my tutorial means so much!! Because you know I LOVE your work...(hugs)
DeleteWhat is a mask? Is it like a stencil?
ReplyDeleteA stencil is the cut-out of an image it leaves that image's shape behind when you ink it. A mask is the piece that was cut out of the stencil and when you cover it in ink or paint your background shows through the mask-shaped opening left behind. I hope this helps...smile
DeleteI really like those backgrounds! Will try this technique with the dylusions and the gesso!
ReplyDelete